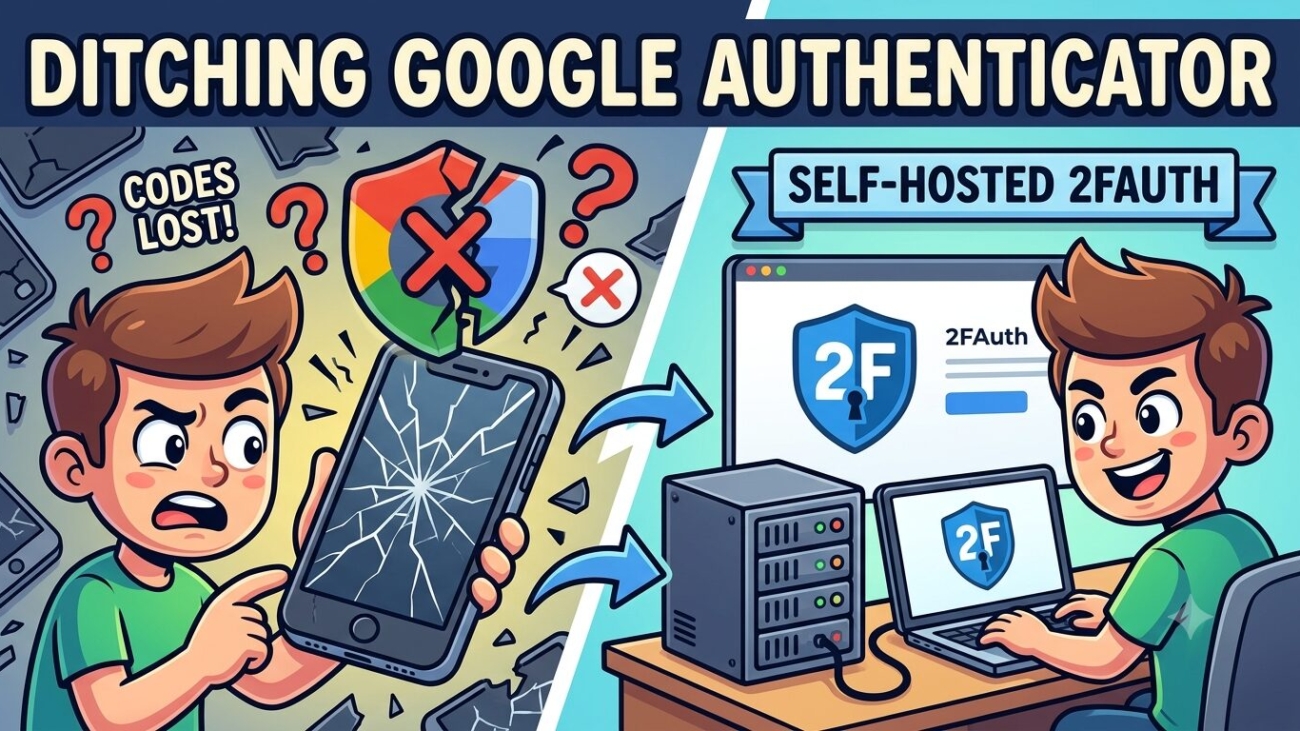
I recently went through the frustrating experience of switching phones and discovering that all my Google Authenticator codes had vanished. No backup, no export, just gone. If you’ve been through this, you know the panic. It sent me down a rabbit hole looking for a better solution — one that wouldn’t leave me stranded every time I changed devices.
The result is a self-hosted 2FA setup using 2FAuth, a lightweight open-source web app for managing two-factor authentication codes. Here’s how I set it up and why I think it’s the right approach for anyone running a homelab.
Why Not Just Use Google Authenticator?
Google Authenticator has improved over the years and does support Google account sync now, but it’s still a black box. You’re trusting Google with your 2FA secrets, the export/import story is clunky, and if something goes wrong during a phone switch you’re in trouble. I wanted something I owned and controlled.
My requirements were simple:
- Open source
- Self-hosted — my data, my server
- Cloud sync so a broken phone doesn’t lock me out of everything
- A proper mobile app that communicates via API, not just a browser wrapper
- Offline support — codes should work even when away from home
2FAuth ticks every one of those boxes.
What Is 2FAuth?
2FAuth is a self-hosted web application for managing TOTP and HOTP two-factor authentication accounts. It stores your 2FA secrets on your own server in a SQLite database, provides a clean web UI, and exposes a REST API that third-party apps can use to sync and generate codes.
For Android there’s a companion app — 2FAuth for Android — that connects to your self-hosted instance via API token, caches all your accounts locally in an encrypted vault, and generates codes even when your server isn’t reachable. It’s not on the Play Store yet but is available as a sideloadable APK from the GitHub releases page.
The Stack
I run everything on a Proxmox homelab with a dedicated Docker LXC managed by Dockge. The 2FAuth setup is a single container with a SQLite database — no Postgres, no Redis, no extra services to manage.
Setting It Up
1. Create the stack directory
mkdir -p /opt/stacks/2fauth/data
chown -R 1000:1000 /opt/stacks/2fauth/data
The chown is important — the container runs as UID 1000 and needs write access to the data directory.
2. Compose file
In Dockge, create a new stack called 2fauth with the following:
services:
  2fauth:
    image: 2fauth/2fauth
    container_name: 2fauth
    restart: unless-stopped
    ports:
      - 8082:8000
    volumes:
      - ./data:/2fauth
    environment:
      - APP_NAME=2FAuth
      - APP_ENV=local
      - APP_DEBUG=false
      - [email protected]
      - APP_URL=https://2fa.yourdomain.com
      - APP_KEY=
      - DB_CONNECTION=sqlite
      - CACHE_DRIVER=file
      - SESSION_DRIVER=file
networks: {}
Leave APP_KEY blank on first deploy — 2FAuth generates one automatically. After first boot, grab the generated key and add it to your compose so it persists across container recreations:
docker exec 2fauth php artisan key:generate --showCopy the output and set it as APP_KEY in your compose, then redeploy.
3. Reverse proxy
I use NPMPlus (nginx Proxy Manager Plus) with Cloudflare for SSL. Add a proxy host pointing 2fa.yourdomain.com at your Docker host on port 8082, enable SSL, done.
4. Create your account
Open https://2fa.yourdomain.com in a browser and click Register to create the first user account. Once registered, go to Settings → Administration and disable open registration so no one else can sign up.
5. Add SMTP for email notifications (optional)
2FAuth can send login notification emails. Add your SMTP details to the environment block:
- MAIL_MAILER=smtp
- MAIL_HOST=mail.yourdomain.com
- MAIL_PORT=587
- [email protected]
- MAIL_PASSWORD=yourpassword
- MAIL_ENCRYPTION=tls
- [email protected]
- MAIL_FROM_NAME=2FAuth
Setting Up the Android App
The 2FAuth for Android app isn’t on the Play Store yet, so you’ll need to sideload it:
- Download the latest APK from the GitHub releases page
- On your Android device, go to Settings → Apps → Special app access → Install unknown apps and allow your browser to install APKs
- Open the downloaded APK and install it
To connect the app to your server:
- In the 2FAuth web UI, go to Settings → Personal Access Tokens and generate a new token
- Open the Android app and add a new account/server
- Enter your server URL (
https://2fa.yourdomain.com) and paste the API token
The app will sync all your 2FA accounts from the server, store them locally in an AES-256-GCM encrypted vault, and generate codes even when you’re not connected to your server. You can unlock the vault with a PIN or biometrics.
The Key Benefit: Phone Switches Are No Longer a Problem
This is the whole point. When you get a new phone:
- Install the APK
- Point it at your server
- Paste your API token
- Done — all your codes are back
Your 2FA secrets live on your server, not on any individual device. The devices are just clients.
A Note on Security
Putting your 2FA server on the internet does expose a login page. A few ways to harden this:
- Cloudflare Access — put the domain behind Cloudflare Access so there’s an additional identity check before anyone reaches the 2FAuth login page. Free tier covers this.
- Strong password + disable registration — at minimum, use a strong unique password and turn off open registration immediately after setup.
- VPN only — don’t expose it publicly at all. The Android app works offline anyway, so you only need server connectivity when syncing new accounts.
Note that the Android app connects via API token, not through the web login page — so day-to-day use doesn’t touch the login page at all.
Final Thoughts
2FAuth is exactly what I was looking for — simple, self-hosted, open source, and genuinely useful. The Android app’s offline-first approach means I get the convenience of local code generation with the safety net of server-side backup. No more losing all my 2FA codes when I change phones.
If you’re running a homelab and rely on two-factor authentication, this setup is worth the hour it takes to get running.
2FAuth: github.com/Bubka/2FAuth
2FAuth for Android: github.com/ryosoftware/2fauth-for-android