Gemini_Generated_Image_529gir529gir529g

Storj’s $50 Minimum Fee Killed It for Me — Here’s What I Switched To

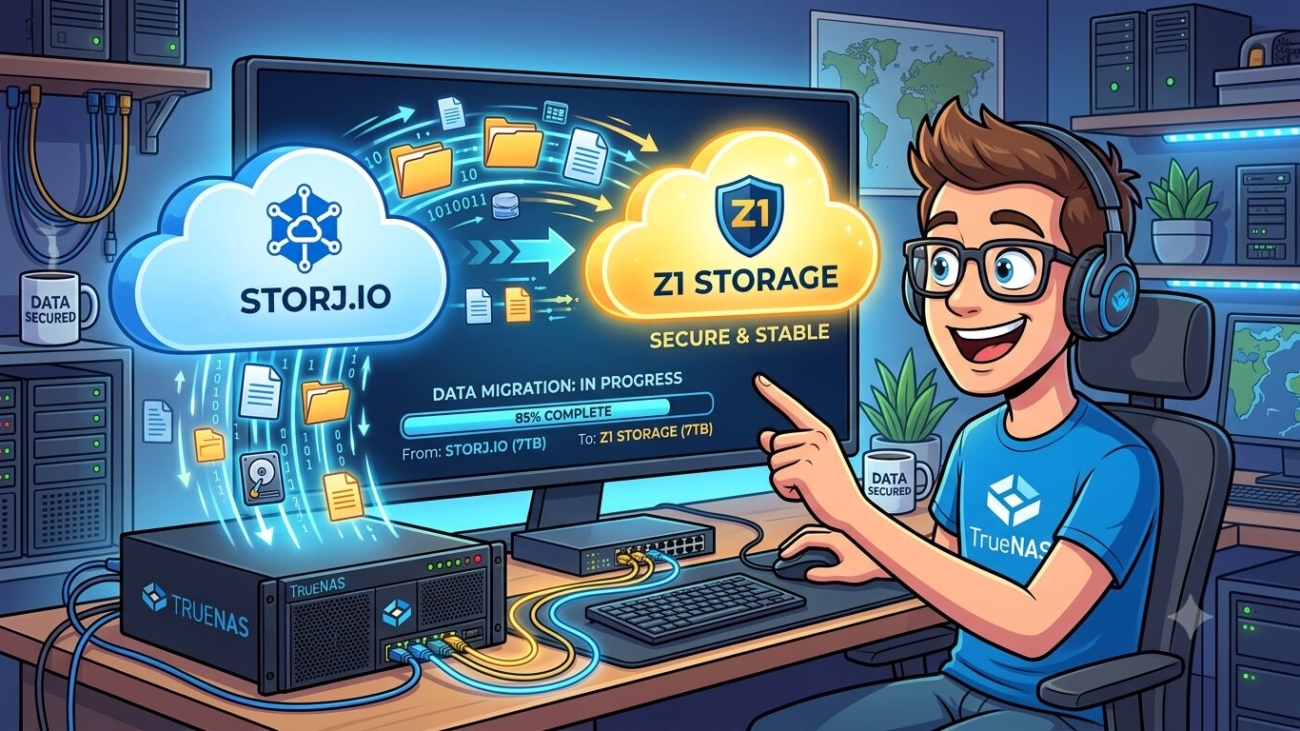
Migrating from Storj.io to Z1 Storage on TrueNAS SCALE

Here’s the updated post with that corrected throughout:


Ditching Storj: How I Moved My TrueNAS Backups to a Local SA Alternative for a Fraction of the Price

If you’ve been using Storj for cloud backups, you’ve probably received the email by now. From 1 July 2026, Storj is introducing a $50 per month minimum fee — regardless of how much storage you actually use. For homelab users and small self-hosters backing up less than 7TB, that’s a significant and unwelcome change.

This post covers how I migrated my TrueNAS SCALE backup setup away from Storj to Z1 Storage, a South African S3-compatible object storage provider — and why it ended up being a better fit than the more commonly recommended Backblaze B2.


What Changed with Storj

Storj’s new pricing structure, effective 1 July 2026, introduces two tiers (Standard at $7/TB and Advanced at $10/TB) and eliminates the old segment fees. On paper that sounds reasonable — but the $50/month minimum is the dealbreaker for most homelab users. If your backup footprint is under 7TB, you’re paying more than your actual usage warrants, with no credit for the difference.

Accounts that don’t opt in before the deadline will be frozen and data deleted within 45 days, so this isn’t something you can ignore.


Why Not Backblaze B2?

Backblaze B2 is the most commonly recommended Storj alternative — no minimum fee, $6/TB/month, and free egress via the Cloudflare Bandwidth Alliance. For many users it’s the right choice.

However, Backblaze only operates datacenters in the US and EU. If you’re based in South Africa, you’re routing every backup upload across an international link. For small incremental backups that’s probably fine, but when a local alternative exists at a similar price point, it’s worth considering.


Enter Z1 Storage

Z1 Storage is a South African S3-compatible object storage provider with datacenters in Johannesburg and Cape Town. It’s priced at R0.30/GB per month (roughly R300/TB), includes free ingress, and egress equal to your stored data per month at no charge. There’s no minimum monthly fee.

It’s fully S3-compatible — meaning rclone, TrueNAS Cloud Sync tasks, BackWPup, and virtually any other S3-aware tool works with it out of the box. For a sub-1TB backup footprint you’re looking at well under R200/month, billed in Rands with no USD/ZAR exchange rate exposure.


The Migration: TrueNAS SCALE

My setup consisted of several TrueCloud Backup Tasks (Storj’s Restic-based integration) and one Cloud Sync task. The key thing to understand is that TrueCloud Backup Tasks are Storj-specific — you can’t simply swap the credential to Z1 Storage. They need to be replaced with standard Cloud Sync tasks.

Step 1: Add Z1 as a Cloud Credential

Go to Credentials → Backup Credentials → Cloud Credentials → Add and fill in:

  • Provider: Amazon S3
  • Endpoint URL: https://s3.z1storage.com
  • Access Key ID: your Z1 Storage access key
  • Secret Access Key: your Z1 Storage secret key
  • Region: leave blank, check Disable Endpoint Region

Click Verify Credential before saving. The endpoint needs the full https:// prefix — s3.z1storage.com alone or with :443 appended will throw a validation error.

Step 2: Disable Old TrueCloud Tasks

Toggle off all existing TrueCloud Backup Tasks in Data Protection. Don’t delete them yet — keep them until Z1 Storage is confirmed working.

Step 3: Create Your Buckets

I created a dedicated bucket in Z1 Storage for each dataset I was backing up, rather than using subfolders inside a single bucket. This keeps things clean and makes it easy to see per-dataset usage at a glance in the Z1 Storage console. For example:

  • personal-storage → one bucket
  • immich-library → one bucket
  • audiobookshelf → one bucket
  • Each WordPress site → its own bucket

It’s a personal preference — one bucket with subfolders works just as well technically — but separate buckets make storage reporting and cleanup much more straightforward.

Step 4: Create Cloud Sync Tasks

For each dataset, create a new Cloud Sync Task under Data Protection with:

  • Direction: PUSH
  • Transfer Mode: SYNC
  • Credential: Z1 Storage
  • Bucket: the dedicated bucket for that dataset
  • Folder: / (root of the bucket)

Under Advanced Options, set Transfers to High Bandwidth (16) and ensure Use –fast-list is ticked. This significantly improves throughput on datasets with large numbers of small files — particularly relevant for photo libraries.

Step 5: Run and Verify

Run each task manually first and verify in the Z1 Storage File Explorer that files are landing in the correct buckets. The initial upload will take longer than subsequent runs — after that, only new or changed files are transferred.

One gotcha: Z1 Storage occasionally returns a 502 Bad Gateway during the final cleanup phase of a sync, even after all files have transferred successfully. If this happens, simply rerun the task — it completes the verification pass quickly and exits cleanly.


WordPress Backups with BackWPup

For WordPress sites, BackWPup (free) supports S3-compatible storage natively. I created a dedicated Z1 Storage bucket per WordPress site, keeping each site’s backups completely isolated. In your job’s To: S3 Service tab, configure it as follows:

  • S3 Service: Custom
  • S3 Server URL: https://s3.z1storage.com
  • Region: us-east-1 (dummy value — Z1 Storage doesn’t require it but the field can’t be left blank)
  • Signature: v4
  • Access Key / Secret Key: your Z1 Storage credentials
  • S3 Bucket: the dedicated bucket for that WordPress site
  • Max backups to retain: 14–15

Hit Save & Test Connection and you’re done.


Cost Comparison

ProviderPriceMinimum FeeLocation
Storj$7/TB$50/monthGlobal
Backblaze B2$6/TBNoneUS / EU
Z1 StorageR0.30/GBNoneSouth Africa

For a ~500GB backup footprint, Z1 Storage works out to approximately R150/month — no surprises, no minimums, billed locally.


Final Thoughts

The Storj pricing change is a real problem for anyone running sub-7TB homelab backups. If you’re in South Africa, Z1 Storage is worth serious consideration — local latency, Rand-denominated billing, full S3 compatibility, and no minimum fee make it a compelling fit for exactly this use case.

The migration from TrueCloud to Cloud Sync tasks takes an hour or two, and the initial upload is the only slow part. Once that’s done, incremental daily backups are fast and cheap.

Gemini_Generated_Image_uyxy5suyxy5suyxy

Self-Hosting 2FAuth: Never Lose Your 2FA Codes Again

I recently went through the frustrating experience of switching phones and discovering that all my Google Authenticator codes had vanished. No backup, no export, just gone. If you’ve been through this, you know the panic. It sent me down a rabbit hole looking for a better solution — one that wouldn’t leave me stranded every time I changed devices.

The result is a self-hosted 2FA setup using 2FAuth, a lightweight open-source web app for managing two-factor authentication codes. Here’s how I set it up and why I think it’s the right approach for anyone running a homelab.

Why Not Just Use Google Authenticator?

Google Authenticator has improved over the years and does support Google account sync now, but it’s still a black box. You’re trusting Google with your 2FA secrets, the export/import story is clunky, and if something goes wrong during a phone switch you’re in trouble. I wanted something I owned and controlled.

My requirements were simple:

  • Open source
  • Self-hosted — my data, my server
  • Cloud sync so a broken phone doesn’t lock me out of everything
  • A proper mobile app that communicates via API, not just a browser wrapper
  • Offline support — codes should work even when away from home

2FAuth ticks every one of those boxes.

What Is 2FAuth?

2FAuth is a self-hosted web application for managing TOTP and HOTP two-factor authentication accounts. It stores your 2FA secrets on your own server in a SQLite database, provides a clean web UI, and exposes a REST API that third-party apps can use to sync and generate codes.

For Android there’s a companion app — 2FAuth for Android — that connects to your self-hosted instance via API token, caches all your accounts locally in an encrypted vault, and generates codes even when your server isn’t reachable. It’s not on the Play Store yet but is available as a sideloadable APK from the GitHub releases page.

The Stack

I run everything on a Proxmox homelab with a dedicated Docker LXC managed by Dockge. The 2FAuth setup is a single container with a SQLite database — no Postgres, no Redis, no extra services to manage.

Setting It Up

1. Create the stack directory

mkdir -p /opt/stacks/2fauth/data
chown -R 1000:1000 /opt/stacks/2fauth/data

The chown is important — the container runs as UID 1000 and needs write access to the data directory.

2. Compose file

In Dockge, create a new stack called 2fauth with the following:

services:
  2fauth:
    image: 2fauth/2fauth
    container_name: 2fauth
    restart: unless-stopped
    ports:
      - 8082:8000
    volumes:
      - ./data:/2fauth
    environment:
      - APP_NAME=2FAuth
      - APP_ENV=local
      - APP_DEBUG=false
      - [email protected]
      - APP_URL=https://2fa.yourdomain.com
      - APP_KEY=
      - DB_CONNECTION=sqlite
      - CACHE_DRIVER=file
      - SESSION_DRIVER=file
networks: {}

Leave APP_KEY blank on first deploy — 2FAuth generates one automatically. After first boot, grab the generated key and add it to your compose so it persists across container recreations:

docker exec 2fauth php artisan key:generate --show

Copy the output and set it as APP_KEY in your compose, then redeploy.

3. Reverse proxy

I use NPMPlus (nginx Proxy Manager Plus) with Cloudflare for SSL. Add a proxy host pointing 2fa.yourdomain.com at your Docker host on port 8082, enable SSL, done.

4. Create your account

Open https://2fa.yourdomain.com in a browser and click Register to create the first user account. Once registered, go to Settings → Administration and disable open registration so no one else can sign up.

5. Add SMTP for email notifications (optional)

2FAuth can send login notification emails. Add your SMTP details to the environment block:

- MAIL_MAILER=smtp
- MAIL_HOST=mail.yourdomain.com
- MAIL_PORT=587
- [email protected]
- MAIL_PASSWORD=yourpassword
- MAIL_ENCRYPTION=tls
- [email protected]
- MAIL_FROM_NAME=2FAuth

Setting Up the Android App

The 2FAuth for Android app isn’t on the Play Store yet, so you’ll need to sideload it:

  1. Download the latest APK from the GitHub releases page
  2. On your Android device, go to Settings → Apps → Special app access → Install unknown apps and allow your browser to install APKs
  3. Open the downloaded APK and install it

To connect the app to your server:

  1. In the 2FAuth web UI, go to Settings → Personal Access Tokens and generate a new token
  2. Open the Android app and add a new account/server
  3. Enter your server URL (https://2fa.yourdomain.com) and paste the API token

The app will sync all your 2FA accounts from the server, store them locally in an AES-256-GCM encrypted vault, and generate codes even when you’re not connected to your server. You can unlock the vault with a PIN or biometrics.

The Key Benefit: Phone Switches Are No Longer a Problem

This is the whole point. When you get a new phone:

  1. Install the APK
  2. Point it at your server
  3. Paste your API token
  4. Done — all your codes are back

Your 2FA secrets live on your server, not on any individual device. The devices are just clients.

A Note on Security

Putting your 2FA server on the internet does expose a login page. A few ways to harden this:

  • Cloudflare Access — put the domain behind Cloudflare Access so there’s an additional identity check before anyone reaches the 2FAuth login page. Free tier covers this.
  • Strong password + disable registration — at minimum, use a strong unique password and turn off open registration immediately after setup.
  • VPN only — don’t expose it publicly at all. The Android app works offline anyway, so you only need server connectivity when syncing new accounts.

Note that the Android app connects via API token, not through the web login page — so day-to-day use doesn’t touch the login page at all.

Final Thoughts

2FAuth is exactly what I was looking for — simple, self-hosted, open source, and genuinely useful. The Android app’s offline-first approach means I get the convenience of local code generation with the safety net of server-side backup. No more losing all my 2FA codes when I change phones.

If you’re running a homelab and rely on two-factor authentication, this setup is worth the hour it takes to get running.


2FAuth: github.com/Bubka/2FAuth
2FAuth for Android: github.com/ryosoftware/2fauth-for-android