Gemini_Generated_Image_3s11sn3s11sn3s11

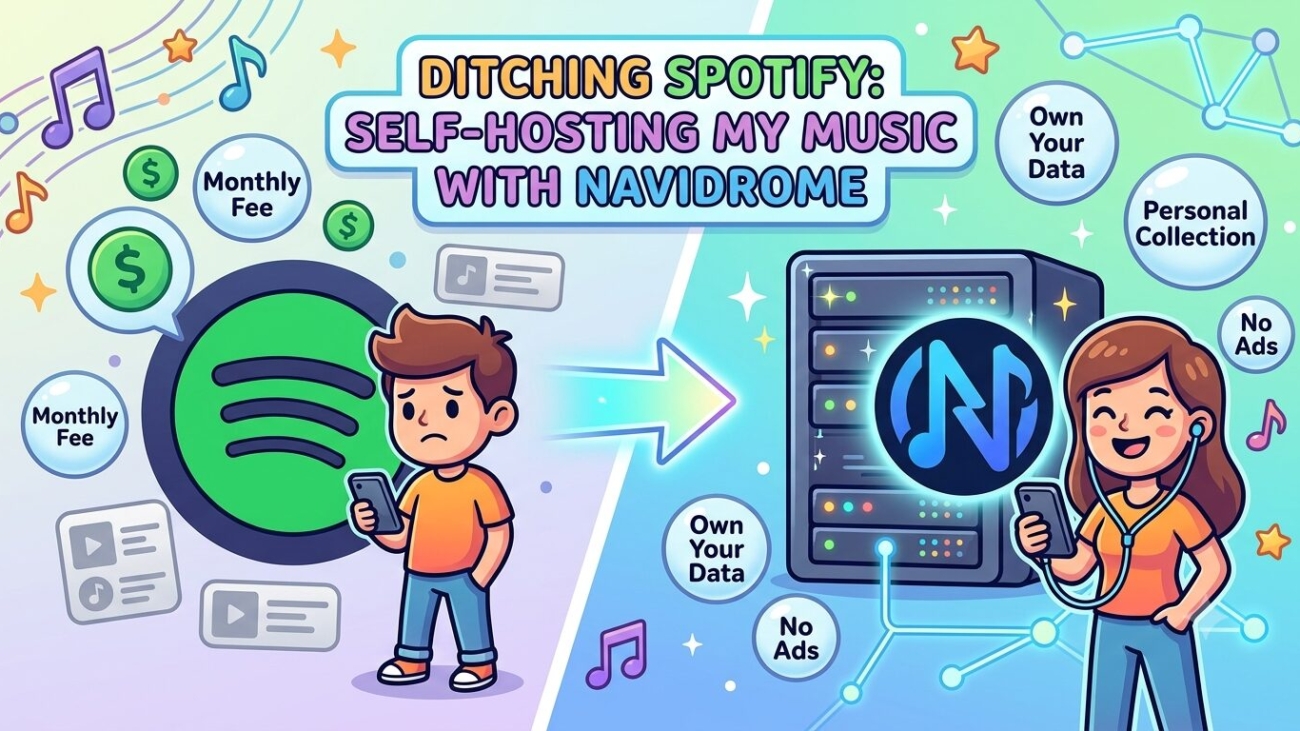
Ditching Spotify: Self-Hosting My Own Music Streaming Service with Navidrome

I’ve been slowly replacing subscription services in my homelab with self-hosted alternatives, and music streaming was the next one on the list. This post walks through how I set up Navidrome, an open-source, Subsonic-API-compatible music server, on my Proxmox homelab — including the NFS permissions rabbit hole I fell into along the way, and the client apps I landed on to actually listen to the thing.

Why Navidrome?

Navidrome is a lightweight, open-source music server written in Go. It indexes a personal music library and serves it up through a clean web player, plus it’s compatible with the Subsonic API — which means there’s a huge ecosystem of third-party client apps (desktop, iOS, Android) that can connect to it. No subscription, no algorithmic playlists, no losing access to an album because a licensing deal expired. Just your own library, streamed on your own terms.

It’s also refreshingly light on resources. The server’s job is mostly scanning files for metadata, serving a web UI, and streaming bytes — it doesn’t decode or “play” audio itself, the client device does that. The only time it gets CPU-hungry is if you configure on-the-fly transcoding (e.g. converting FLAC down to a lower bitrate for a bandwidth-constrained mobile client), and even then it’s only for the duration of that one stream. A single CPU core and well under a gigabyte of RAM is plenty for a home setup.

Where to run it: container host vs. NAS

My music library lives on my NAS, so the first question was whether to run Navidrome directly on the NAS itself (to be “close to the storage”) or on one of my Docker LXC hosts. Since the server’s CPU/RAM footprint is so small, there was no real performance case for co-locating it with the storage — reading static files over the network is negligible overhead for this use case. I went with an existing Docker host instead, so it could slot into my regular container-management workflow (I use Dockge) rather than being managed separately on the NAS’s own app system.

Mounting the NFS share — the hard way, then the right way

My music share lives on a NAS device, exported over NFS. My container host is an unprivileged LXC on Proxmox, and I wanted to avoid loosening the container’s isolation just to get an NFS client working natively inside it — unprivileged containers map root to a non-root UID on the host, and mounting filesystems from inside them tends to run into AppArmor restrictions and UID-mapping headaches.

The cleaner pattern — and the one Proxmox setups generally recommend — is to mount the NFS share on the Proxmox host itself, then bind-mount that already-mounted path into the LXC via the container’s configuration. From the container’s point of view, it’s just a local directory; it never needs any NFS privileges of its own.

1. Mount NFS on the Proxmox host

bash

mkdir -p /mnt/music-nas
mount -t nfs <nas-ip>:/path/to/Music /mnt/music-nas

Make it persistent by adding it to /etc/fstab on the host:

<nas-ip>:/path/to/Music  /mnt/music-nas  nfs  defaults,_netdev  0  0

The _netdev flag matters — it tells systemd this is a network filesystem and to wait for networking before attempting the mount, avoiding race conditions on boot.

2. The permissions detour

This is where I lost an afternoon. The mount itself succeeded fine, but trying to list the directory as root on the Proxmox host threw a flat Permission denied — even though the NFSv4 ACL on the NAS side showed root with full control.

The culprit turned out to be how the NFS export was configured. My NAS (TrueNAS) supports two different ways of mapping incoming NFS users:

  • Maproot User/Group — maps only incoming root to a specific local user
  • Mapall User/Group — maps every incoming user, root included, to one fixed local user, regardless of what UID the client presents

My share had neither set, which meant it was falling back to root-squash behavior — incoming root gets mapped to an anonymous “nobody” user that isn’t in the ACL at all, hence the denial. Setting Mapall User/Group to a real user with proper read access to the dataset fixed it immediately.

Worth noting: after changing that setting, I had to fully unmount and remount on the Proxmox host for the change to take effect — an already-open NFS session doesn’t repropagate a permissions change on its own.

bash

umount /mnt/music-nas
mount -a
ls -la /mnt/music-nas   # should list files now, not "Permission denied"

(And once permissions were sorted, I discovered the directory was just… empty. I hadn’t actually copied any music into it yet. A good reminder to rule out the boring explanation before chasing the exotic one.)

3. Bind-mount into the LXC

With the host-side mount working, the last step was exposing that path inside the container. This is done via pct set, not through the Proxmox GUI’s “Create: Mount Point” dialog — that dialog is for carving volumes out of Proxmox-managed storage pools, not for arbitrary host-path bind mounts.

bash

pct set <VMID> -mp0 /mnt/music-nas,mp=/mnt/music-nas,ro=1

One gotcha: hotplugging a new mount point into an already-running container can fail unpredictably. If you hit a startup or permission error after adding the mount point, stop the container first, apply the config, then start it fresh:

bash

pct stop <VMID>
pct set <VMID> -mp0 /mnt/music-nas,mp=/mnt/music-nas,ro=1
pct start <VMID>

After that, shelling into the container and running ls -la /mnt/music-nas should show the library, read-only, exactly as mounted on the host.

The Docker Compose stack

With the mount working inside the container, the rest is a standard Dockge stack. I keep config in a separate .env file rather than inlining everything into the compose file — cleaner, and easier to version-control the compose file itself without secrets or environment-specific values baked in.

.env

env

ND_SCANSCHEDULE=1h
ND_LOGLEVEL=info
ND_SESSIONTIMEOUT=24h
ND_MUSICFOLDER=/music
ND_DATAFOLDER=/data
ND_ENABLETRANSCODINGCONFIG=true
ND_ENABLESHARING=true
ND_ENABLEFAVOURITES=true
ND_DEFAULTTHEME=Dark
ND_DEFAULTUILANGUAGE=en
ND_REVERSEPROXYWHITELIST=<reverse-proxy-ip>/32

docker-compose.yml

yaml

services:
  navidrome:
    image: deluan/navidrome:latest
    container_name: navidrome
    restart: unless-stopped
    ports:
      - "4533:4533"
    env_file:
      - .env
    volumes:
      - ./data:/data
      - /mnt/music-nas:/music:ro
    cpus: 1.5
    mem_limit: 768m

A couple of notes on the environment variables:

  • ND_REVERSEPROXYWHITELIST tells Navidrome which IP(s) it should trust X-Forwarded-For headers from. Without this, everything appears to come from your reverse proxy’s internal IP instead of the real client — useful for logs and rate limiting once you’re proxying externally. Set this to your reverse proxy’s actual LAN IP with a /32 suffix if it’s a single fixed host, not the generic Docker bridge range you’ll find in a lot of copy-pasted examples online (that range only applies if the proxy and the app share a Docker network, which mine don’t).
  • cpus/mem_limit aren’t strictly necessary given how light Navidrome is, but since this host also runs other services, I kept a modest cap in place as a safety net against something unexpected (like several simultaneous transcoding streams) rather than letting it compete unbounded for resources.

Reverse proxy

To access it from outside the house, I put it behind my existing reverse proxy (Nginx Proxy Manager + CrowdSec), the same pattern I use for other self-hosted services:

  • Forward to the container host’s IP on port 4533
  • Enable WebSockets support — Navidrome uses these for real-time scan progress in the admin UI, and it’ll appear to hang without this enabled
  • Add to the advanced Nginx config, to avoid buffering entire audio files before forwarding them:

nginx

proxy_buffering off;
client_max_body_size 0;
  • SSL via my usual certificate setup, force HTTPS

Getting the library in shape

Navidrome doesn’t fetch metadata or cover art from the internet — it only reads what’s already embedded in the files themselves, or sitting alongside them as folder art (cover.jpg/folder.jpg). If your files aren’t tagged, you’ll just see “Unknown Artist” everywhere, which isn’t much fun to browse.

For a messy, years-accumulated library, the fix is to run everything through MusicBrainz Picard before it ever touches the server:

  • Picard fingerprints the actual audio (via AcoustID) and matches it against the MusicBrainz database, correcting tags even when filenames are useless
  • It can fetch and embed cover art as part of the same pass
  • With “Move files when saving” enabled and a naming script configured, it will also reorganize files into a clean folder structure automatically:
%albumartist%/%album% (%date%)/%tracknumber% - %title%

Recommended structure once organized:

/Music
├── Artist Name/
│   ├── Album Name (Year)/
│   │   ├── 01 - Track Name.flac
│   │   ├── 02 - Track Name.flac
│   │   └── cover.jpg

I’d suggest pointing Picard at a local staging folder rather than the live NFS share directly — it does a lot of read/rename churn during matching, which is both faster and less fragile against local disk. Once a batch is cleaned up, rsync it over to the NAS:

bash

rsync -avh --progress /path/to/staging/ /path/to/nas-music-share/

rsync over a plain copy is worth it for a large one-shot library move — if anything interrupts partway through, it resumes cleanly instead of starting over.

Listening on the go — and going open source all the way

The server side was only half the job — the other half is picking a client app. Navidrome doesn’t ship its own mobile app, but because it speaks the Subsonic API, there’s a large ecosystem of third-party clients to choose from, most of which support downloading music for offline playback so you’re not burning mobile data every time you want to listen.

Since I’d already gone fully open-source for the server, I wanted to keep the client side open-source too:

  • Android: Ultrasonic — GPLv3, actively maintained, supports offline downloads/sync, background playback, and Android Auto.
  • iOS: Amperfy — open source, built with Navidrome/Subsonic servers specifically in mind, with good offline support and a genuinely polished UI (open-source iOS media clients aren’t always known for that).

For anyone who wants something closer to the Spotify look and feel while staying fully open source:

  • Desktop: Feishin — a React/Electron client with a modern, Spotify-esque interface, lyrics, podcasts, and scrobbling support.
  • iOS: Tempo — a native client with a clean, premium-feeling dark UI.

Setup for any of these is the same pattern: point the app at your server’s URL, log in with your Navidrome credentials, browse your library, and tap the download icon on whatever albums or playlists you want cached locally for offline listening.

Where it landed

The end result: my own music library, streamed from infrastructure I control, accessible from anywhere, with zero subscription fee and full offline support on mobile — built entirely from open-source components. The trade-off, honestly, is convenience — I don’t have a catalog of tens of millions of songs at my fingertips the way a commercial service offers. But for a library I already own and care about, having full control over it, with no risk of an album vanishing because a licensing deal lapsed, feels like a fair trade.

Next up: tackling the tagging backlog on the rest of my library with Picard. That part’s less “infrastructure project” and more “several patient evenings with a coffee,” but it’s the last piece standing between this setup and a genuinely great browsing experience.

Gemini_Generated_Image_uyxy5suyxy5suyxy

Self-Hosting 2FAuth: Never Lose Your 2FA Codes Again

I recently went through the frustrating experience of switching phones and discovering that all my Google Authenticator codes had vanished. No backup, no export, just gone. If you’ve been through this, you know the panic. It sent me down a rabbit hole looking for a better solution — one that wouldn’t leave me stranded every time I changed devices.

The result is a self-hosted 2FA setup using 2FAuth, a lightweight open-source web app for managing two-factor authentication codes. Here’s how I set it up and why I think it’s the right approach for anyone running a homelab.

Why Not Just Use Google Authenticator?

Google Authenticator has improved over the years and does support Google account sync now, but it’s still a black box. You’re trusting Google with your 2FA secrets, the export/import story is clunky, and if something goes wrong during a phone switch you’re in trouble. I wanted something I owned and controlled.

My requirements were simple:

  • Open source
  • Self-hosted — my data, my server
  • Cloud sync so a broken phone doesn’t lock me out of everything
  • A proper mobile app that communicates via API, not just a browser wrapper
  • Offline support — codes should work even when away from home

2FAuth ticks every one of those boxes.

What Is 2FAuth?

2FAuth is a self-hosted web application for managing TOTP and HOTP two-factor authentication accounts. It stores your 2FA secrets on your own server in a SQLite database, provides a clean web UI, and exposes a REST API that third-party apps can use to sync and generate codes.

For Android there’s a companion app — 2FAuth for Android — that connects to your self-hosted instance via API token, caches all your accounts locally in an encrypted vault, and generates codes even when your server isn’t reachable. It’s not on the Play Store yet but is available as a sideloadable APK from the GitHub releases page.

The Stack

I run everything on a Proxmox homelab with a dedicated Docker LXC managed by Dockge. The 2FAuth setup is a single container with a SQLite database — no Postgres, no Redis, no extra services to manage.

Setting It Up

1. Create the stack directory

mkdir -p /opt/stacks/2fauth/data
chown -R 1000:1000 /opt/stacks/2fauth/data

The chown is important — the container runs as UID 1000 and needs write access to the data directory.

2. Compose file

In Dockge, create a new stack called 2fauth with the following:

services:
  2fauth:
    image: 2fauth/2fauth
    container_name: 2fauth
    restart: unless-stopped
    ports:
      - 8082:8000
    volumes:
      - ./data:/2fauth
    environment:
      - APP_NAME=2FAuth
      - APP_ENV=local
      - APP_DEBUG=false
      - [email protected]
      - APP_URL=https://2fa.yourdomain.com
      - APP_KEY=
      - DB_CONNECTION=sqlite
      - CACHE_DRIVER=file
      - SESSION_DRIVER=file
networks: {}

Leave APP_KEY blank on first deploy — 2FAuth generates one automatically. After first boot, grab the generated key and add it to your compose so it persists across container recreations:

docker exec 2fauth php artisan key:generate --show

Copy the output and set it as APP_KEY in your compose, then redeploy.

3. Reverse proxy

I use NPMPlus (nginx Proxy Manager Plus) with Cloudflare for SSL. Add a proxy host pointing 2fa.yourdomain.com at your Docker host on port 8082, enable SSL, done.

4. Create your account

Open https://2fa.yourdomain.com in a browser and click Register to create the first user account. Once registered, go to Settings → Administration and disable open registration so no one else can sign up.

5. Add SMTP for email notifications (optional)

2FAuth can send login notification emails. Add your SMTP details to the environment block:

- MAIL_MAILER=smtp
- MAIL_HOST=mail.yourdomain.com
- MAIL_PORT=587
- [email protected]
- MAIL_PASSWORD=yourpassword
- MAIL_ENCRYPTION=tls
- [email protected]
- MAIL_FROM_NAME=2FAuth

Setting Up the Android App

The 2FAuth for Android app isn’t on the Play Store yet, so you’ll need to sideload it:

  1. Download the latest APK from the GitHub releases page
  2. On your Android device, go to Settings → Apps → Special app access → Install unknown apps and allow your browser to install APKs
  3. Open the downloaded APK and install it

To connect the app to your server:

  1. In the 2FAuth web UI, go to Settings → Personal Access Tokens and generate a new token
  2. Open the Android app and add a new account/server
  3. Enter your server URL (https://2fa.yourdomain.com) and paste the API token

The app will sync all your 2FA accounts from the server, store them locally in an AES-256-GCM encrypted vault, and generate codes even when you’re not connected to your server. You can unlock the vault with a PIN or biometrics.

The Key Benefit: Phone Switches Are No Longer a Problem

This is the whole point. When you get a new phone:

  1. Install the APK
  2. Point it at your server
  3. Paste your API token
  4. Done — all your codes are back

Your 2FA secrets live on your server, not on any individual device. The devices are just clients.

A Note on Security

Putting your 2FA server on the internet does expose a login page. A few ways to harden this:

  • Cloudflare Access — put the domain behind Cloudflare Access so there’s an additional identity check before anyone reaches the 2FAuth login page. Free tier covers this.
  • Strong password + disable registration — at minimum, use a strong unique password and turn off open registration immediately after setup.
  • VPN only — don’t expose it publicly at all. The Android app works offline anyway, so you only need server connectivity when syncing new accounts.

Note that the Android app connects via API token, not through the web login page — so day-to-day use doesn’t touch the login page at all.

Final Thoughts

2FAuth is exactly what I was looking for — simple, self-hosted, open source, and genuinely useful. The Android app’s offline-first approach means I get the convenience of local code generation with the safety net of server-side backup. No more losing all my 2FA codes when I change phones.

If you’re running a homelab and rely on two-factor authentication, this setup is worth the hour it takes to get running.


2FAuth: github.com/Bubka/2FAuth
2FAuth for Android: github.com/ryosoftware/2fauth-for-android

unnamed

Why Invoice Ninja Kept Logging Me Out — And How CrowdSec Was the Culprit

I set up Invoice Ninja for my business invoicing needs. After logging in, refreshing the page would immediately kick me back to the login screen. After a deep troubleshooting session, the culprit turned out to be a CrowdSec AppSec rule designed for Langflow AI — misfiring on Invoice Ninja’s /api/v1/refresh endpoint. Here’s exactly how I found it and fixed it

Gemini_Generated_Image_1omwip1omwip1omw

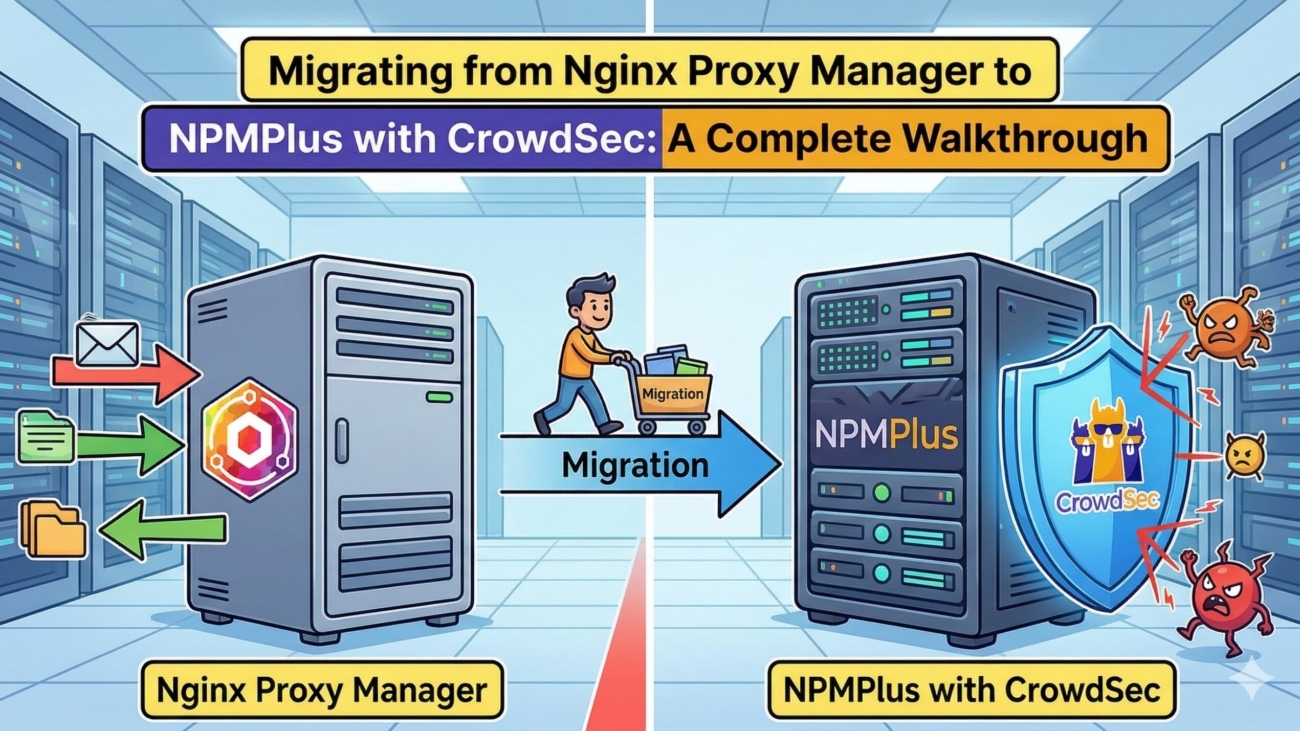
Migrating from Nginx Proxy Manager to NPMPlus with CrowdSec: A Complete Walkthrough

I replaced my standard Nginx Proxy Manager instance with NPMPlus (an enhanced fork) and integrated CrowdSec for automated threat detection and blocking — including Cloudflare Turnstile captcha challenges. The whole stack runs in Docker, managed via Dockge, and sits behind itself as a reverse proxy. Here’s exactly how I did it, including the gotchas I hit along the way

Gemini_Generated_Image_qpefjnqpefjnqpef

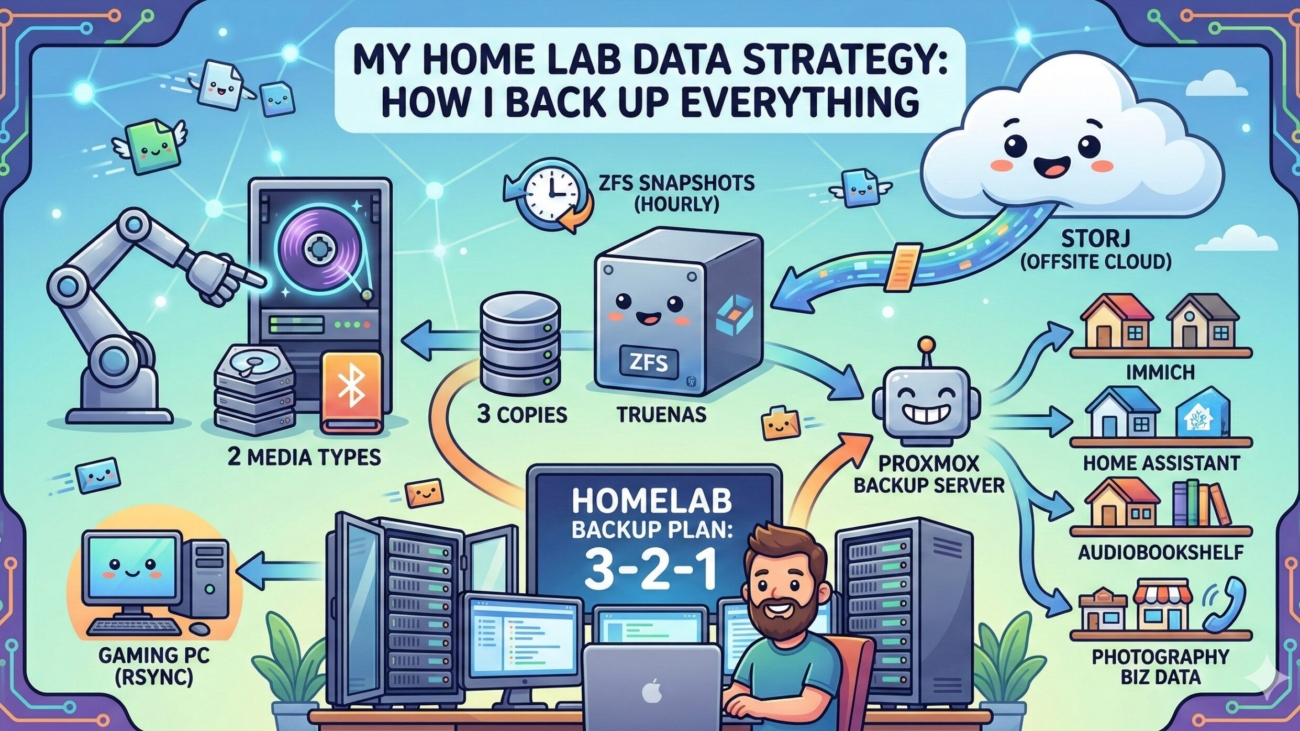
3-2-1 and Then Some: How I Back Up My Entire Home Lab

A comprehensive breakdown of my homelab backup architecture, built around the “3-2-1” principle. The strategy utilizes TrueNAS as the central hub, employing ZFS snapshots for immediate disaster recovery, Rsync to a secondary PC for local hardware redundancy, and Proxmox Backup Server for managing VM/LXC backups. Finally, all critical datasets and backups are automatically synced offsite to Storj, ensuring the entire network is well protected against failure