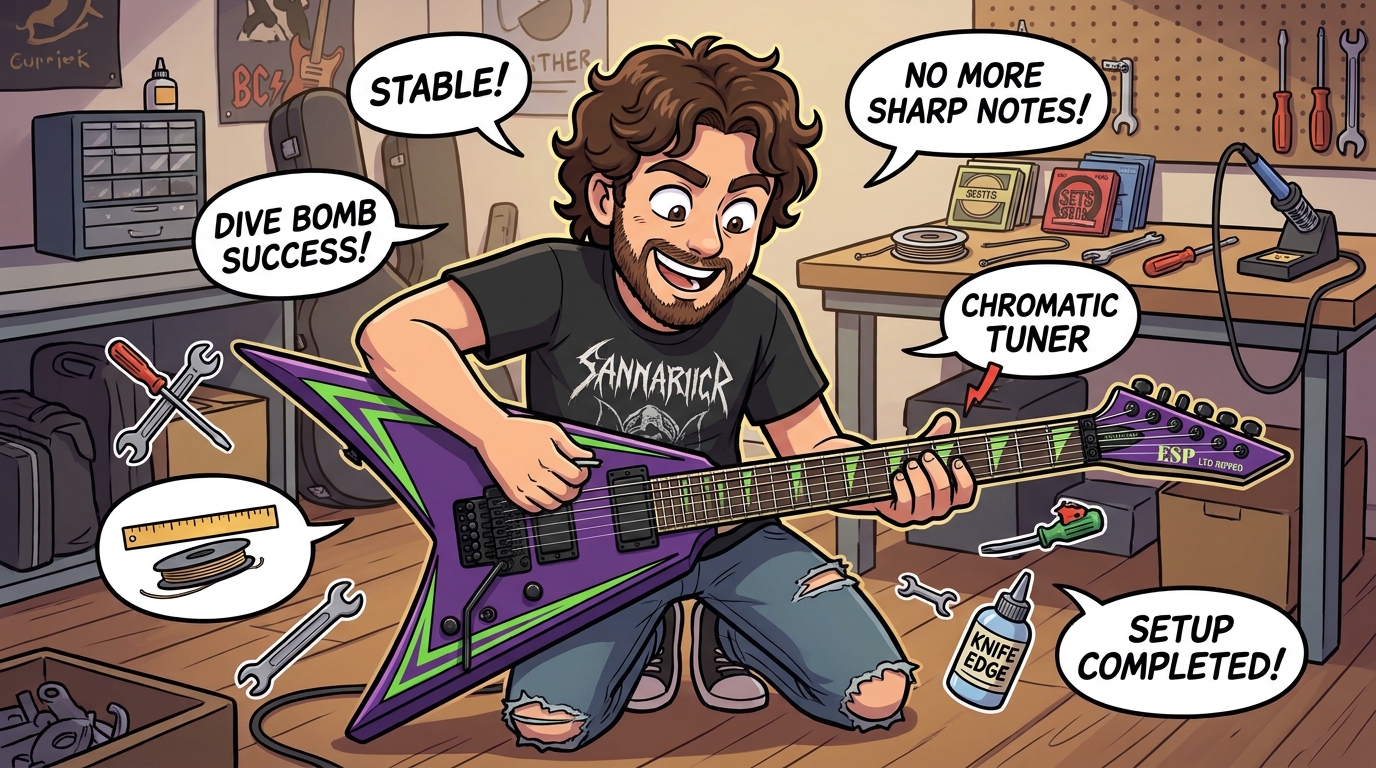
Sometimes what starts as a simple string change turns into a full guitar setup session. That’s exactly what happened to me recently after restringing my LTD Alexi Ripped — and I figured I’d document the whole process because it covers a lot of ground that’s useful for any Floyd Rose owner.
The Problem
I changed strings from 9-42 to 10-52 and dropped the tuning a whole step at the same time. After restringing I also adjusted the action — but made the mistake of doing it without releasing string tension first. The result? After every divebomb the strings were coming back slightly sharp.
The likely culprit was the knife edges being dragged along the pivot posts under load rather than sitting cleanly into position — forcing the bridge down while the strings were still pulling can leave the knife edges seated slightly off their proper resting point, causing inconsistent return after whammy use. The heavier string gauge and tuning change also meant the spring/string tension balance needed revisiting.
Rather than just fixing that one issue, I took the opportunity to do a full proper setup. Here’s exactly what I did.
What You’ll Need
- Floyd Rose trem arm
- Block of wood or folded cloth to wedge under the bridge
- 3mm Allen key (pivot posts)
- Allen key for truss rod (check your guitar — some use a spoke wheel adjuster instead, which needs no tools)
- Screwdriver (spring claw)
- Capo
- Tuner
- String action gauge (I used a D’Addario gauge — highly recommended over a regular ruler)
- PTFE-based lubricant (I used Wynn’s Wynflon, widely available in South Africa)
- Toothpick or cotton swab for precise lube application
A Note on Lubricant
A PTFE (Teflon) based lubricant is the right choice for Floyd knife edges and pivot posts. It’s dry, doesn’t attract dirt or metal filings, and won’t migrate onto your strings or pickups. Avoid petroleum-based greases like Vaseline — they attract grime and go sticky over time. Avoid WD-40 standard formula too — it’s a water displacer, not a lubricant, and will dry out. You want something specifically PTFE-based. Don’t spray it directly onto the bridge — spray a small amount onto a toothpick or cotton swab and apply it precisely to the contact points.
The Full Setup Process
Step 1 — Let the Guitar Settle
Before measuring or adjusting anything, make sure the guitar has been at room temperature for at least 30 minutes and is tuned to pitch. Necks move with temperature and humidity so you want it settled before assessing anything.
Step 2 — Check the Truss Rod (Neck Relief)
Always do this at pitch — truss rod checks are meaningless without string tension. Capo the first fret, then fret the last fret. Look at the gap between the bottom of the string and the top of the fret around the 7th-8th fret. You want a very slight bow — just enough to slide a thin piece of paper or a 0.3mm feeler gauge through with a little resistance.
To adjust — tighten clockwise to reduce relief, loosen counter-clockwise to add relief. Make small turns only, a quarter turn at a time maximum, and allow 15-20 minutes for the neck to settle after each adjustment before re-checking.
Step 3 — Block the Bridge
Wedge a block of wood or folded cloth under the back of the bridge plate to take the tension off the pivot points. This lets everything sit freely and makes subsequent steps much easier.
Step 4 — Release String Tension
Detune all strings enough that the bridge is relaxed. You don’t need to go fully slack, just enough that there’s no meaningful pull on the bridge.
Step 5 — Clean and Lubricate the Knife Edges
Wipe the knife edges and the top of the pivot posts with a dry lint-free cloth first to remove any existing dirt or grime. Then apply a thin smear of PTFE lubricant via toothpick or cotton swab to the knife edges on both sides of the bridge and to the top of each pivot post where the knife edges contact them. Less is more here.
Step 6 — Reset the Pivot Posts and Set Action
Back both pivot posts off slightly, then wind them back up to your desired action height in small equal increments on both sides. This ensures the knife edges drop cleanly into their proper seating position without lateral stress. As a starting reference for a low action:
- Bass side (low E): around 2.0–2.2mm at the 12th fret
- Treble side (high E): around 1.8–2.0mm at the 12th fret
Adjust to taste — if you’re getting fret buzz, go slightly higher. This is where your string action gauge earns its keep.
Step 7 — Remove the Block and Balance the Bridge
Take the block out and tune back up to pitch. Check the bridge plate is sitting parallel to the body when viewed from the side. If it’s nose-up, the springs are winning — tighten the spring claw. If it’s nose-down, the strings are winning — loosen the claw. This iteration between tuning and claw adjustment is where most of the time goes on a Floyd setup. Be patient, it’s worth it.
Step 8 — Recheck Action
Once the bridge is level and you’re at pitch, recheck string height at the 12th fret. Adjusting the spring claw balance can shift things slightly, so verify the action is still where you want it before moving on.
Step 9 — Seat the Knife Edges
Give the trem arm a few moderate dives and returns. This works the lubricant into the contact points and lets the knife edges settle properly. Check that tuning returns accurately each time.
Step 10 — Stretch the Strings
New strings — especially heavier gauges — need aggressive stretching. Grab each string near the pickups and pull firmly upward, retune with the fine tuners, and repeat until each string stops going sharp after a pull. Do the full set at least twice through. Heavier strings take more stretching than lighter ones, so don’t rush this step.
Step 11 — Check Nut Slot Height
Fret each string at the 3rd fret and check there’s a tiny gap above the 1st fret — just barely visible. On a Floyd locking nut this is less critical since the nut clamps down, but worth a quick check before locking.
Step 12 — Lock the Nut and Fine Tune
Once tuning is stable and the bridge is returning cleanly after dives, lock the nut blocks down and do your final tuning via the fine tuners only.
Step 13 — Set Intonation
With new strings and a gauge change your intonation will be off. Compare the 12th fret harmonic to the fretted 12th fret note on each string. If the fretted note is sharp, move the saddle back (away from the nut). If it’s flat, move the saddle forward. Work through each string until harmonics and fretted notes match.
Step 14 — Final Playthrough
Play through the full neck, check for any buzzing, do a few divebombs and verify tuning return, then play some riffs and make sure everything feels right. Fine tune via the fine tuners as needed.
The Result
After working through the full process the guitar came back perfectly — tuning rock solid after divebombs, action where I want it, intonation dialled in. What started as a string change gone slightly wrong turned into a properly set up guitar.
The lesson: on a Floyd Rose, any adjustment triggers a chain reaction. Change one thing and everything else needs to be rechecked. The bridge angle, spring balance, action, and intonation are all interdependent. It takes patience but once it’s dialled in a properly set up Floyd is a joy to play.
Key Takeaways
- Always release string tension before adjusting action on a Floyd
- Any string gauge or tuning change requires rebalancing the spring claw
- PTFE lubricant on the knife edges and pivot posts makes a real difference to tuning stability
- New strings — especially heavier gauges — need thorough stretching before they’ll hold tune
- A string action gauge is worth having; much easier than a regular ruler for 12th fret measurements
- Check truss rod relief first before anything else — everything builds from the neck
Leave a Reply
You must be logged in to post a comment.